Wednesday 30 August 2006

People of the World Altered Book

I belong to ABEurope at yahoo. We are just starting a "My Own Theme" round robin, and my theme is "People of the World". I created a machine embroidery of a Japanese lady for the cover of my book. I used some sheet fabric and used bondaweb (I think it is called wundaweb in the States) to "glue" it to some quilting "stuff" and then bonded that to a bottom layer of sheet fabric. The design is from a source book that I have. I scanned it and printed it. I pinned it to the back of the sandwich and sewed through it.

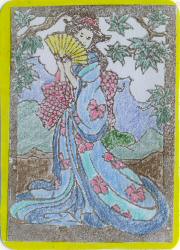
So far, so good. I had to do the face by hand, the machine didn't do the trick.

Once I had completed the machine emboridery, I cut all the under layers off and used satin stitch to fix it to the cover. It was much too wrinkly and ....


sewing the lady onto the cover made it shrink. (That is my story and I'm sticking to it, I did measure and cut correctly). So, I had to add some more to the bottom of the book and then a strap to join it at the inside of the book.


Anyway, I decided early this morning that I hate it. I decided to glue a new cover to the book, chop the lady off the old one and fix it to the new one.

So, where am I right now?

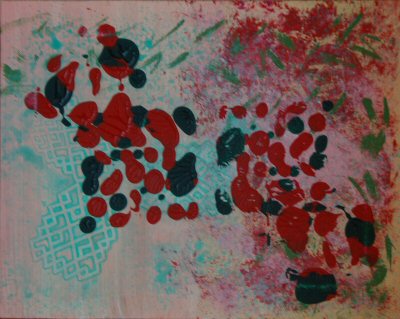
The new cover is glued on, the lady is in a box in my bookcase and I may add her to the cover later when I can show her to an expert friend of mine who can advise me. I'll post photos of the current cover tomorrow.

Update

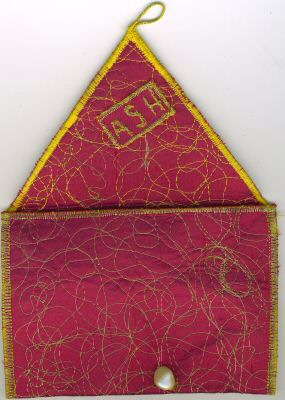
This is the completed front cover:


I am very lucky to have a Craft Robo - a printer which cuts. I used it to create the letters on the inside of the front cover.


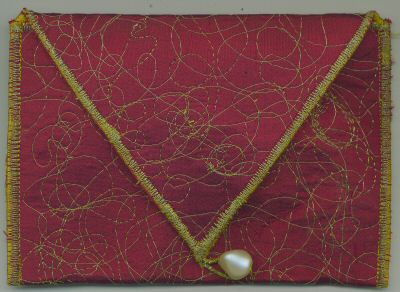
And this is the opposite page.


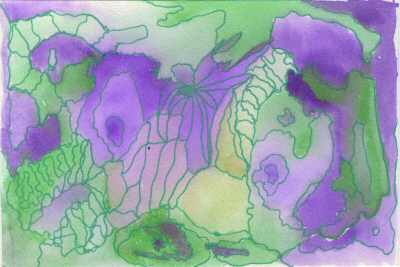
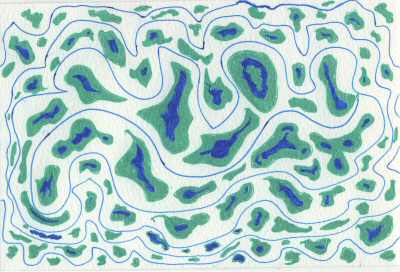
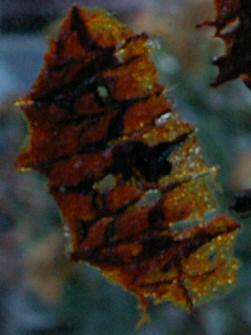
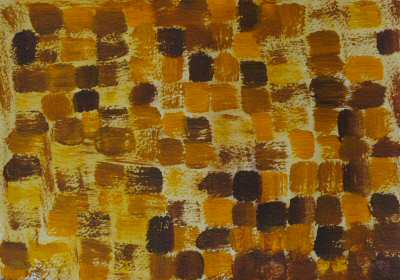
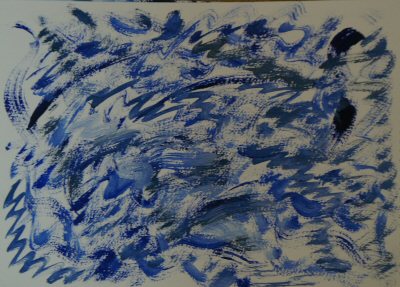
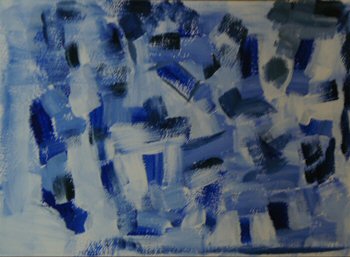
I have had these images from Iran for 33 years, and I am so glad to have found a proper home for them.


Sunday 13 August 2006

Purse for Ash

I did a few evening classes in machine embroidery last winter. I'll showcase some of that work is this blog later. In the mean time, Ash in the USA is hosting a swap. I made this purse for her in lieu of postage.

Unfortunately the scans make it look grubby. The thread is gold metallic and the fabric is silk dupion. Both of which are more vibrant in real life.


Monday 7 August 2006

Various


The one above was created by drawing the lines with two pens at the same time. I do rather like it.


I've just treated myself to some twinkling H2Os. The examples immediately above and below have backgrounds done with the twinklers. Great paints.


And now I revert to my pshychedelic phase!


The secret is to sleep well and dream of fairies floating in the wind. The fairies will bring you good luck. Fairies sleep on gossamer thread. Fairies dream.


The one above is called "calm".

Join the dots - Magic Marker


A bit over the top!

doodles

I've just got into doodling via the yahoo group http://groups.yahoo.com/group/Inklin/. Great fun and really relaxing. Here are some of my efforts.

This one is a "true" doodle because it is in one of my notebooks. We were set a challenge in the group to "join the dots", so, I set up a number of dots and joined them.


Monday 17 July 2006

Skins

Our next project was to make "skins". The idea was to put some golden fluids clear tar gel into a small cup and add golden fluids acrylic paint. The clear tar gel is self levelling. However, I made a bit of a boo boo with my order and ended up with coarse garnet gel. So, I thought to myself, might as well play with this and a few other bases as well.

I put them on a window to photograph in order to show off translucency.
1 & 2. Garnet gel and golden fluid acrylics
3. Cryla texture paste
4. Gloss Enamel
5. Tubed acrylic paint
6. Acrylic Paint & PVA


Some Close Ups

Enamel Acrylic Gloss


PVA and Acrylic


Golden Garnet Gel and Golden Fluids Acrylics


Sunday 16 July 2006

Oxford

Yesterday (July 15th 2006) Paul and I took my brother Richard home to Oxford. It was a glorious summers day and we decided to have lunch at the Victoria Arms. I had last been there about 30 years ago and had only approached it from the river on a couple of punting trips. I had no idea how to find it by car, and we weren't up for punting ot it that day. Luckily, my memory and the Internet served me well and I was able to find directions.

I had a King Prawn salad for lunch, so delicious.

I took my new camera with me of course and here is a small record.

Oxford

The Victoria Arms.


Not one of the best pub signs I have seen.


Rather a lot of punts.


An interesting tree.


An interesting gate in the village of Old Marston


I decided to try taking photos from the car. This is a bridge leading to Cuttleslowe Park.

Sunday 9 July 2006

Layers

The idea of this challenge is to use stamping, resisting and translucent paints.

Complementary Colours - 4

With this one, I used Nivea cream as a resist over some of the washes. This was after reading that vaseline (petroleum jelly) is a good resist. I couldn't find any (I'm sure I have a huge pot), so Nivea, which can be used as a barrier cream seemed to be the thing to use.

Complementary Colours - 3


Believe it or not, this is still yellow and purple. I'm amazed at the amount of brown that came through. In "real life" some of the brown is very dark and chocolate looking.

Complementary Colours - 2

Monochromatic Painting - Image 3


This is my favourite of the three, I really like the dynamism of the strokes.

Complementary Colours - 1


This challenge is to use complementary colours, i.e colours which are opposite to each other on the colour wheel. I used yellow and purple.

Monochromatic Painting - Image 2


This is the second one, trying to be more free with the strokes.

Monochromatic Painting - Image 1


This challenge was to use just one colour and white. This is the first one I did, experimenting with brush strokes with a fairly wide brush that I have.


Sunday 18 June 2006

Summer Theme

I'm doing a swap at the moment (June 2006) with the Art-By-You yahoo group The theme is summer and the images need to be 4 by 4. I'm not the world's best painter by any means, but I am improving and these are my offerings.

This is based on a picture by Mary Cassatt.


These are lobster pots based on a photo I took in Aberdovey, Wales, UK in the summer of 2001.


I took this photo on the same trip to Aberdovey.


All these pictures are drawn with watercolour pencils and then painted over with a brush that has a water container. I'm finding it quite a nice way to mix different colours in the same part of the picture. Another advantage of using the water brush means that I don't dip it in my tea by mistake.

Below is a photo of the backs of the cards, again with watercolour pencils and the water brush. I have to thank Andrea at ABY for the inspiration here. She has sent me some fabulous water colour postcards which gave me the idea for my backgrounds. Thanks Andrea.

Imagepac Daylight Stamp Creating Machine

A few weeks ago I treated myself to an imagepac daylight stamp creating machine. What a wonderful piece of kit! It lets you create your own rubber stamps without carving.

You can find them at http://www.imagepacdaylight.co.uk.

The first few tries were not successful, but essentially my fault for not following the instructions correctly. I now have it cracked.

I'm participating in an ATC swap at the Art-By-You yahoo group http://groups.yahoo.com/group/Art-By-You. The theme is Asian stamps. I didn't have any asian stamps I wanted to use so I made a couple with the stamp creator. This is the result.

The tiger is the stamp, printed on yellow paper and embossed with blue embossing powder.


The stamp is of the full image shown here.


This is the other card in the series (I didn't use the stamp maker for this one). My mum gave me a hand made birthday card recently using this stamp and gave me permission to take it apart! The white paper is some silk paper I made at a course recently. That was great fun and of course suitable for an Asian theme.

Sunday 21 May 2006

Introduction

I belong to the experimental acrylics group on Yahoo. At the moment, our group leader is holding virtual classes. This blog shows the work progressing.
I bought a couple of pictures from the £ store for a £ ($2) each some months ago. It makes a really cheap canvas. This is the one I used for this painting.


The first step was to create a background. Get rid of the white - or in my case, the original picture.


The next step was to add some texture. I used a large stamp to start with but didn't like it. I used cling film (plastic wrap) to cover it up.


The next step was to add some brush work. I chose green because it is the colour opposite red (and therefore complementary) on the colour wheel.


Some spritzing was done over stencils and finally, paint was spread onto a CD case and then the CD Case was placed on the picture.


This is a section of the final painting.